Assignment 3 - Shaping a Bowl
Phase 1
To start, source a sheet of treated Aluminium; this will enable you to shape more efficiently, and will also help when mistakes are made. This will be extremely beneficial as such mistakes such as denting and buckling can be easily fixed as the aluminium is quite 'forgiving'.

Phase 2
The second step is to use a two-pointed compass to lightly etch the aluminium to create a circle. The compass can be adjusted to best fit the sheet of aluminium. Keep in mind that the bowl will be deeply concave; meaning that the diameter of the circle will initially seem larger than originally thought, but will be slightly different during and after shaping.

Phase 3
To cut out and attain a nice, even circle of aluminium, tin snips are used to carefully cut out the general shape of the circle. After cutting out the circle, a file should be used to eliminate any shards that are protruding from the sheet. After using the file for a few minutes, the sheet should be smooth to the touch and a lot safer to use.


Phase 4
After the general shape of the bowl has been established, the bowl will have to be roughly marked with a marker with 3 or more progressively smaller circles. This will allow for more symmetry of the bowl when shaping it.
The next step would be to start shaping the bowl with a mallet and mold. Using a curved, nylon mallet and a concave timber mold, the mallet should repeatedly strike the circle at a slight angle along the line to create the concave shape. To avoid any buckling or perforations, the aluminium sheet must be pressed against the mold as snug as possible to avoid any holes being punched through.


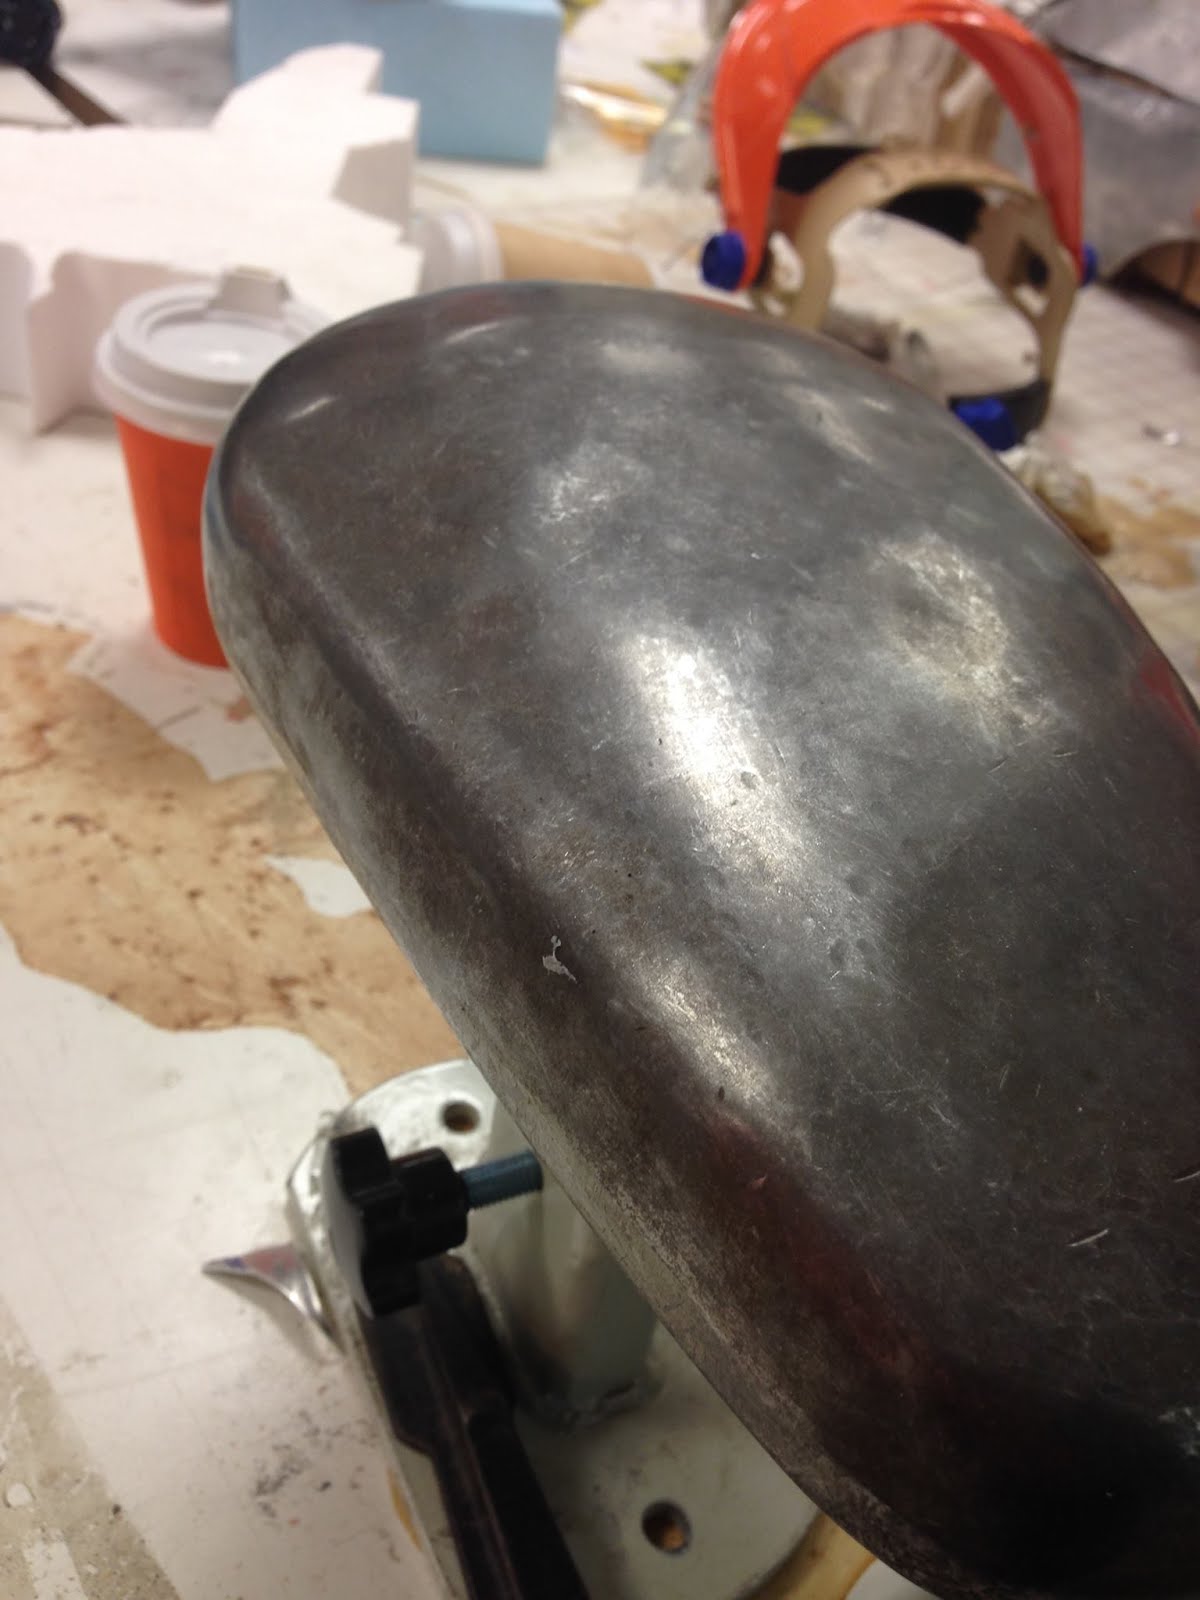
Phase 5
Once there is a more refined and obvious 'bowl' shape, the use of the sandbag can be used to further establish a rounded shape of the bowl. Following that, the English wheel can be used to eliminate most of the large and raised bumps in order to achieve a smooth surface.


Phase 6
The English wheel will smoothen-out a large majority of the bumps on the bowl, however further mallet use may be necessary to achieve more symmetry. Using the metal mallet and curved dolly, the edges can be more refined and evened-out. This may be the required if the English Wheel fails to smoothen the edges of the bowl.


The Bowl - Completed


Part 2.0 - A Reflection
Small, but Contemporary - Salt and Pepper Bowl
The bowl shaped above strikes a resemblance to this salt and pepper bowl used for meal preparation. The contemporary and somewhat minimalist look is a modern twist on the conventional salt&pepper shaker.

For the Home - 'Crossed Paths' Resting Bowls
These resting bowls are also quite minimalist, but allow for such household items as keys, sunglasses, wallets, or coins to be stored for convenience. A slightly deeper type of bowl, the 'crossed paths' set up catches the eye and has double the storage.

In the Kitchen or in the Lounge - Small Object Holders
A more detailed and interesting item, this multi-sized object holder retains the classic shape of the conventional bowl, but adds a touch of intricacy and form. The curved shapes can be achieved through a less standardised and even cut (a circle for a regular bowl).


Comments
Post a Comment